

Deploy elastic search on IIS.
A brief introduction to get an idea, what to do.
Deploy elastic search on the system where you want to run your ElasticSearch.
Install Web Platform Installer 3.0 or above.
Using Web Platform Installer to install (ARR) Application Routing Request.
Create a Website in IIS with a url (say abc.com).
Rewrite url (abc.com) to localhost port of ElasticSearch.
Enable cors for the website ( Cross Origin Resource sharing ).
Deploy elastic search on the system where you want to run your ElasticSearch.
Install Web Platform Installer 3.0 or above.
Go to the following website: http://www.microsoft.com/web/downloads/platform.aspx Once you have downloaded the file called “wpilauncher.exe” simply click it and at one point you come at a Window with applications and you “Add” button on the right. In the top is a search window, search here for ARR you should see a window as here below:
Using Web Platform Installer to install (ARR) Application Routing Request.
Note: Below screens are of old version
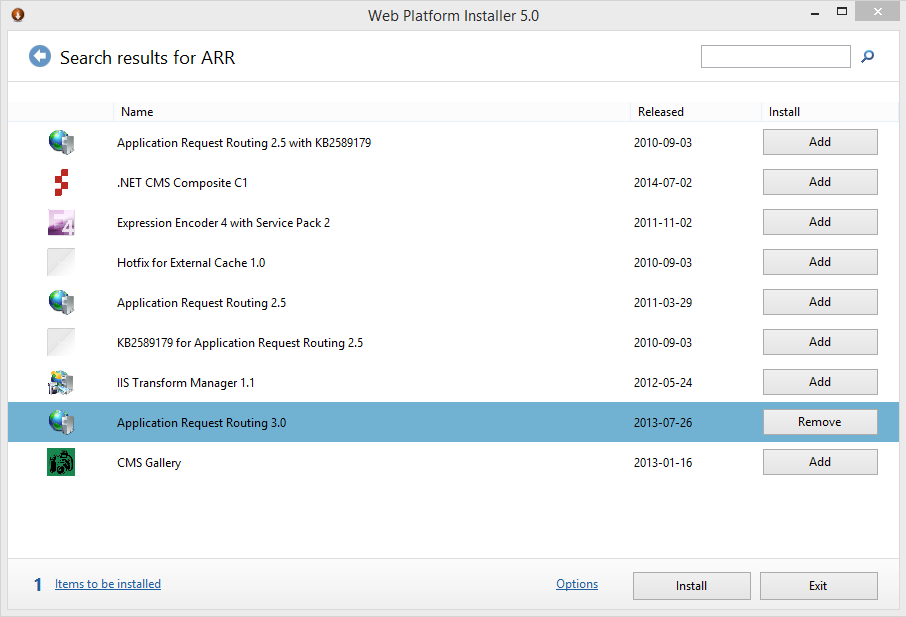
On this screen choose “Application Request Routing 3.0” and then click on “Add” and then Search also for “Rewrite” and click “Add.
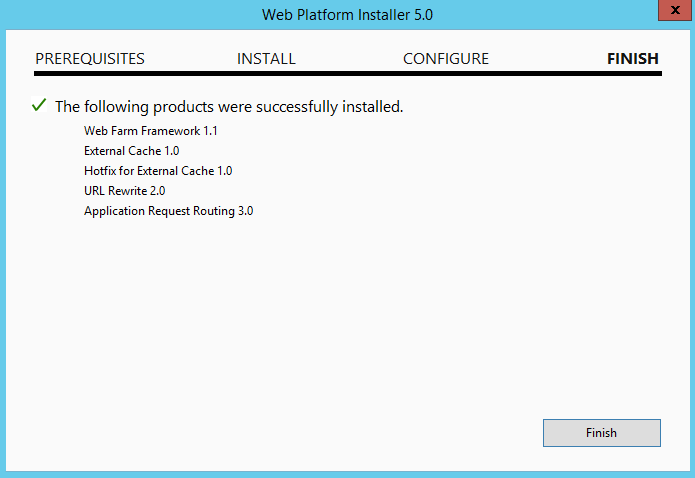
Now press the “Install” in the button and a window as below should appear.
When everything is finished correctly you see the following.
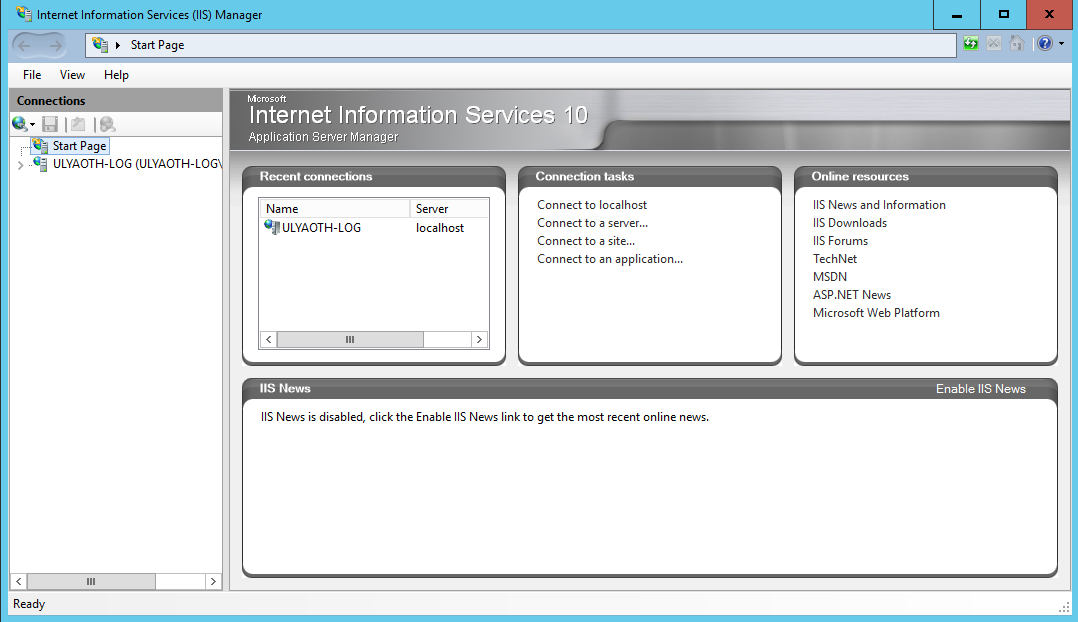
Create a Website in IIS with a url (say abc.com).
Open IIS Manager and you should see a window as below.
Create a new website for ElasticSearch as shown below. Right click on “sites” in the left part of IIS.
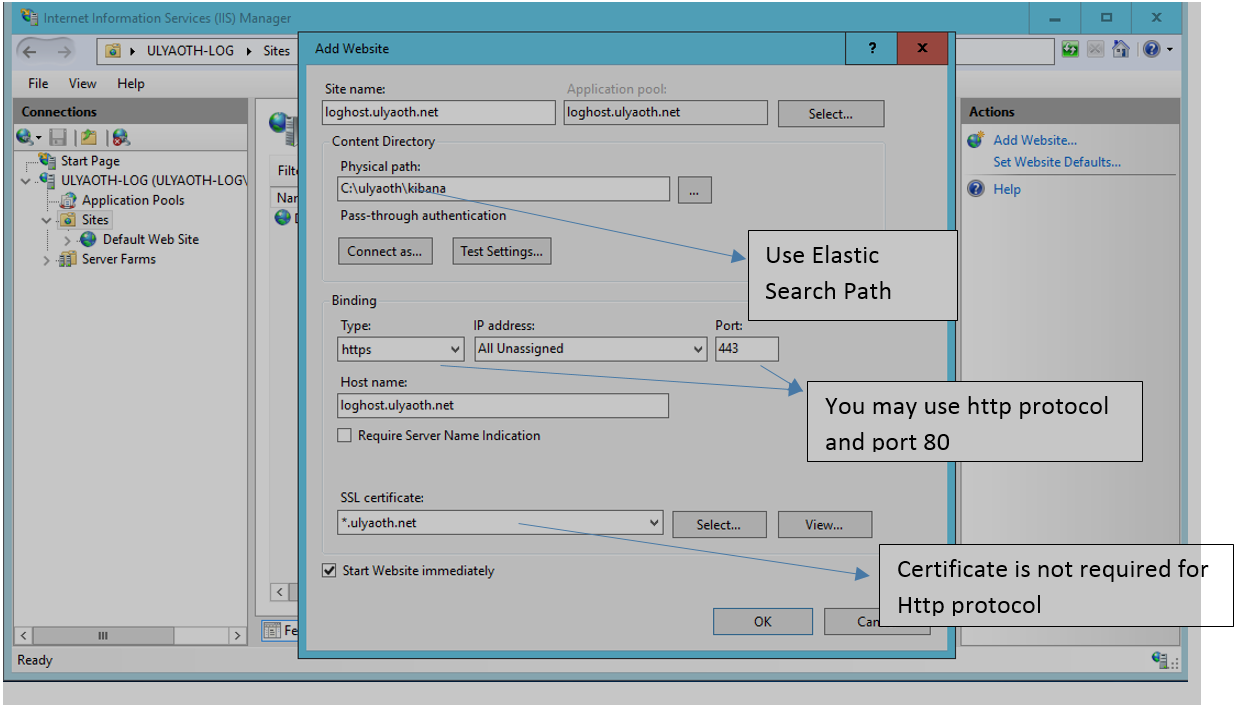
Manager and click “Add Website”.
Rewrite url (abc.com) to localhost port of ElasticSearch.
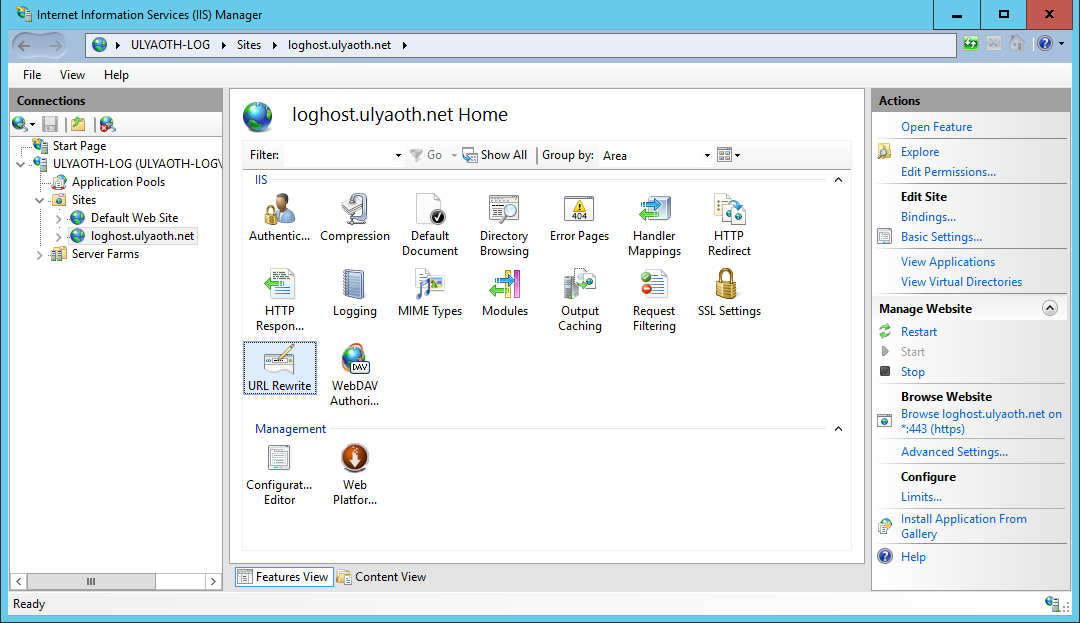
Now double click on the icon “Rewrite URL” and then in the right window click on “Add Rules(s)…”, and a window should popup that looks like this:
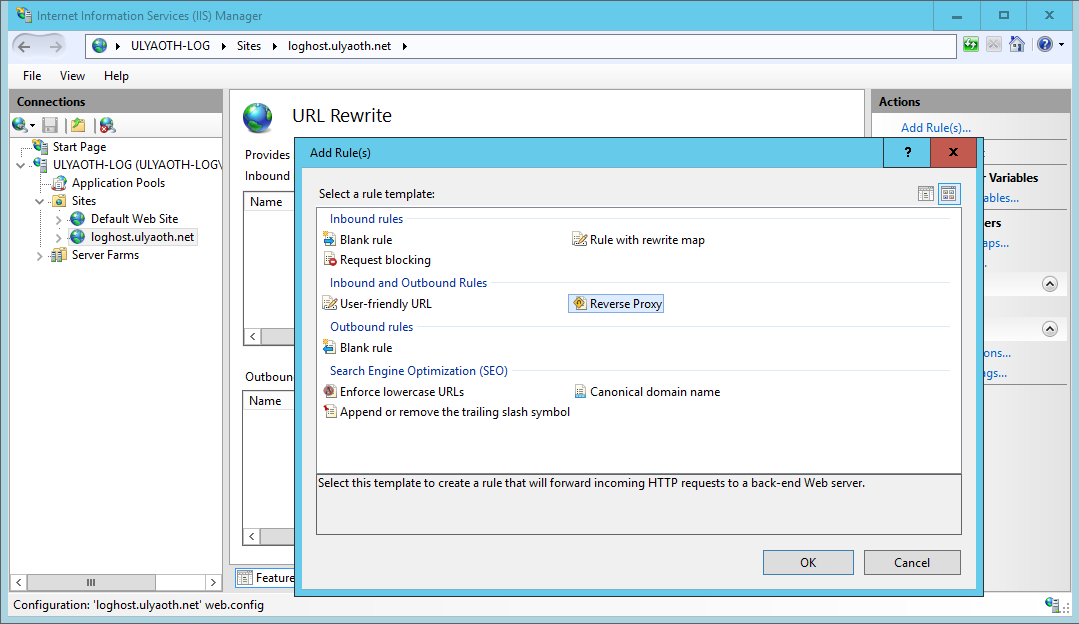
Now click on “Reverse Proxy” and then click OK in the bottom a new
window will popup as below:
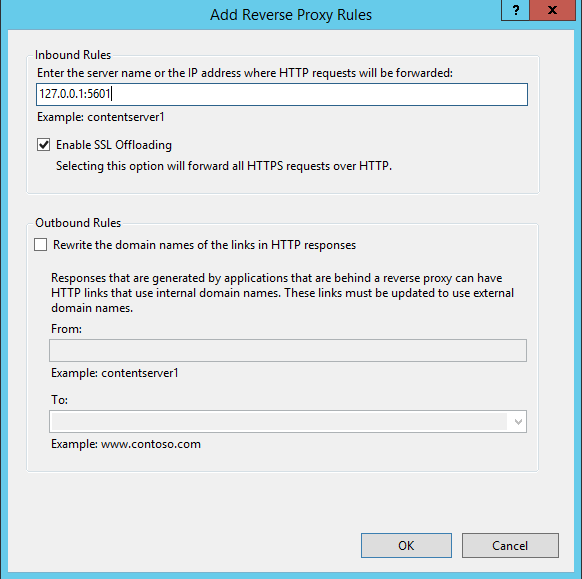
You probably will get a warning that you are about to use ARR so please go ahead and accept this.
To explain it in short the ip you entered “127.0.0.1” and port “9200” this is where ElasticSearch will run under and you are basically making tunnel to get data from that internal program to people that will connect to your domain. If you change ElasticSearch’s port then you of-course have to update the above reverse proxy rule.
Start elasticsearch and put it on autostart (optional)
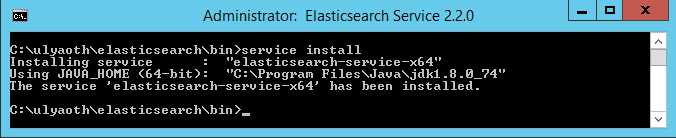
Open a console and go to ElasitcSearch bin directory. Now type the following command:
service install
You should see something like:
Now type the following:
service manager
You should see the elasticsearch service manager:
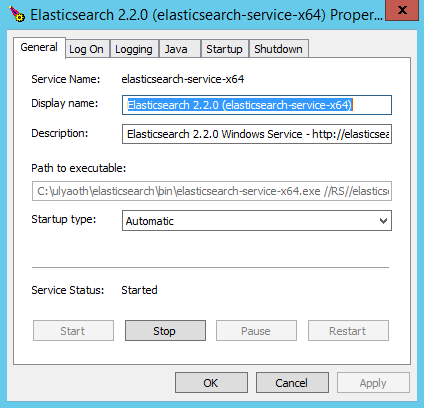
You have to change on the tab the “Startup type” from Manual to Automatic and then press Apply this should make Elasticsearch start automatically on server boot.
This window contains some more options such as how much memory Elasticsearch will use you can find this on the “Java” tab I would suggest to make this fitting for your server if you have a servers that will handle a huge amount of logs I would increase the “Maximum Memory Pool: 1024” at least to a higher amount.
Before you close the window make sure to press “Start” so it actually will run right now
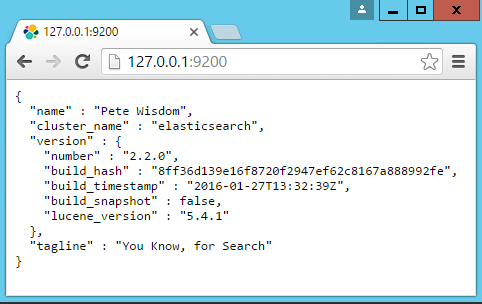
This is everything to start ElasticSearch automatically on boot to test that it is working open a browser and go to the url “127.0.0.1:9200”.
If you see a json string something like what you see below in the
picture then it means your ElasticSearch is running:
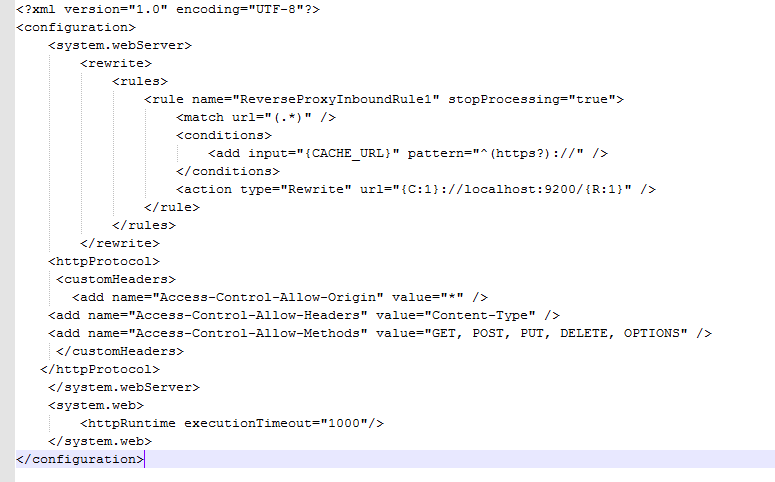
Enable cors for the website ( Cross Origin Resource sharing ).
In webconfig created for website in ElasticSearch folder do add custom headers like in below image
Access-Control-Allow-Origin value should be selective, when in production.
References
https://channel9.msdn.com/Events/MEC/2014/USX305
https://www.ulyaoth.net/resources/tutorial-install-logstash-and-kibana-on-a-windows-server.34/